Ghosts of Saltmarsh: Chapter 8 - The Styes
The Lantern Ghost Killer has haunted the dark streets of the Styes and his killings have sewn fear amongst the people. By chance, he has finally been caught and has paid for his crimes at the end of a rope. The execution released a collective sigh of relief from the citizens of the desolate city. That is until a new victim has been found…
The centerpiece of this 5e Dungeons & Dragons adventure is a murder mystery. The players get drawn into finding the serial killer known as the Lantern Ghost Killer. There are a couple of hooks at the beginning of the chapter with ideas of how to embroil the characters into finding the killer. These hooks can be used whether this is a stand-alone adventure or as part of a campaign.
The campaign does not flow easily into the Styes. It will take a bit of work to pull the players along this thread. I laid the groundwork for this adventure early on and still I had some trouble getting the players to go to the Styes. Once in the Styes the players were hooked and fully invested in finding the Lantern Ghost Killer.
The adventure is broken into five sections. The first section deals with the background of the Styes and lays the foundation of the adventure. It only takes a couple of pages to learn how awful the Styes is to live in.
The second section is the murder mystery. The important locations and people the players will interact with are laid out here. The clues eventually point the players to Mr. Dory, his warehouse, and his residence, which leads to the third section.
The investigation/assault on Mr. Dory’s lair is interesting but has a few problems that will most likely make the fight chaos incarnate. The adventure assumes that the players will go through the warehouse on their way to Mr. Dory’s boat, but these are 11th level characters with access to spells and resources that allow them to easily bypass the building. There is a reason that most lairs are buried underground and not suspended over mud pits. The wooden boat means that doors are meaningless because even a first-level character can chop their way into the wooden hull (they will lose any chance at surprise, but they won’t be stacked up at the door trying to get inside).
The fourth section is finding the temple of Tharizdun and eliminating the leader of the cult known as the Whisperer. Finding the location is more interesting than what gets drawn on the battlemap. Once the Whisperer is defeated then this then opens up the fifth and final section where the characters will have to face a juvenile kraken.
The mystery at the heart of the adventure is very good but the boss fights had issues. A little bit of work by the DM can fix the fight with the Whisperer, but Mr. Dory’s lair is so unique that I would not suggest changing that one too much, but be prepared for its unique layout. There are plenty of opportunities for the players to role play, explore, investigate a murder, and fight some tough opponents. This adventure has something for every type of player in your group just not at the same time. So, get out your magnifying glasses and sharpen your swords because the mystery of the Styes awaits.
How it Played
We played this adventure out of order. My plan for the campaign made more sense to complete the Styes before going onto Tammeraut’s Fate. The final climax of the campaign was to take place on the water and not on land, so a land-based mystery did not work as the jumping-off point for the final fight. My players’ characters were only 8th level when they played this adventure, but the party is quite large so that makes up for the lack of levels. Given that they were lower level than the design of the adventure, it is an issue that they were able to circumvent some of the obstacles placed before them.
There is some flexibility with this adventure on where to place the Styes. It can be a district of a large city or a city in itself. I have seen it as a district of Saltmarsh (if you are going for a darker campaign) and as part of Seaton (which makes sense with it being the only other coastal city on the map on page 23). I placed the Styes as its own city west along the coast past the Sahuagin Fortress. The players were aware of the Styes since the city had been part of the alliance against the Sahuagin. Mr. Dory had sent his representative to be a part of the war planning in Saltmarsh.
The first session of this adventure was all about finding clues. The players in your party that are good at solving mysteries and those that are excellent role-players will find plenty to do. Your more combat-focused players will be building dice towers and checking their phones. They will eventually have plenty to do just not at first.
As the DM, be on your toes for wherever the players will want to go. You might mention something in passing that the players decide is very important. Have at least an idea of what the players will find if they decide to go to Jamre Loveage’s house or to check out Thornwell Tower. Have some maps or details for each of the eleven locations called out on the map of the Styes on page 167 (plus a few other places based on where they might go).
The battle with Mr. Dory suffers from a design flaw of thinking the characters have no access to powerful magic. For instance, to destroy the crane the adventure only mentions Shatter which is a second-level spell while 11th level characters will have access to Disintegrate. Unless the players are very efficient and stealthy, there is no way that their fight with Mr. Dory and his minions does not spill out into the open and cause a crowd to gather. Destroying the crane will have more than a slight chance of happening, plus add the volatile nature of what is stored in the warehouse and the characters are almost guaranteed to cause a scene.
My players went around the warehouse and not through it. This put the guardians of the warehouse at their back. The cramped nature of the fight near the crane shed had some players looking to move along before the threat of the warehouse guardians was negated. Eventually, some of the players were entering Mr. Dory’s boat by the door, two were chopping a hole in the roof of Mr. Dory’s chamber, and they all left one character behind to handle the warehouse guardians. In the typical Daddy Issues style, they were spread out and did not give each other backup. Soon there were three different fights going on at once. I will give the party lots of credit when they realized they were in over their heads they put together a very good withdrawal plan on the fly. They may not be able to plan a good assault, but they know how to retreat.
Once free of danger, the true chaos that is Daddy Issues came to life. In passing it is mentioned that the characters can break the chain that holds Mr. Dory’s ship over the mudflat (on page 176 under the description of D6. Upper Deck). It is stated that this will take too long and draw too much attention. As the characters retreated from the ship after causing more than a bit of attention to be drawn, they focused all of their spells to destroy the chain.
Then the volatile nature of the materials stored in the warehouse came into play. One of the characters intentionally started a fire that caused an explosion. This had the added benefit of either killing or severely wounding the guards in the warehouse. The fight ended with Mr. Dory getting away, but he was exposed as the monster that he had become. The characters were able to salvage clues and find their way to the Lamp’s Shadow.
The skum that protected the entrance of the temple were taken care of without too much of a problem, the party had learned to work together from the almost disaster at Mr. Dory’s Warehouse. I used the chuul inside the temple to attack and split the party when the floor broke apart. A couple of the characters tumbled down into the lower cave and the rest of the party was split between the hole in the floor. The party was able to reform and either kill the chuul or drive them away.
The Whisperer had a couple of surprises for the characters and used some of its special abilities to good use. The fight went pretty well and soon the characters were putting the Styes behind them and heading out to sea. Here is where they were attacked by the Whisperer’s pet, but this went nothing like it is suggested in the adventure.
What I Changed
I laid the groundwork for this adventure back at session zero. The character Wind had a contact in the Styes named Eleanor Loveage. The unfortunate bit was that the player had to drop out of the campaign just before the party reached the Styes. I kept the character Wind around in case the player could rejoin the campaign at a later date. One of the advantages of having the party own a ship it is a great place to stash characters when their players are unable to make it to a session.
I added the NPC Rylapay before the players left to go to the Isle of the Abbey. She worked for Mr. Dory and was looking for the necklace called the Sunset’s Eye. The players would find the necklace later on in The Final Enemy. I further embroiled the players in the murder mystery by making Rylapay the first victim of the new Lantern Ghost Killer. Her death became the focus of the characters’ early investigation. Wind worked with Master Refrum and spent the adventure researching the Sunset’s Eye to unlock its secret.
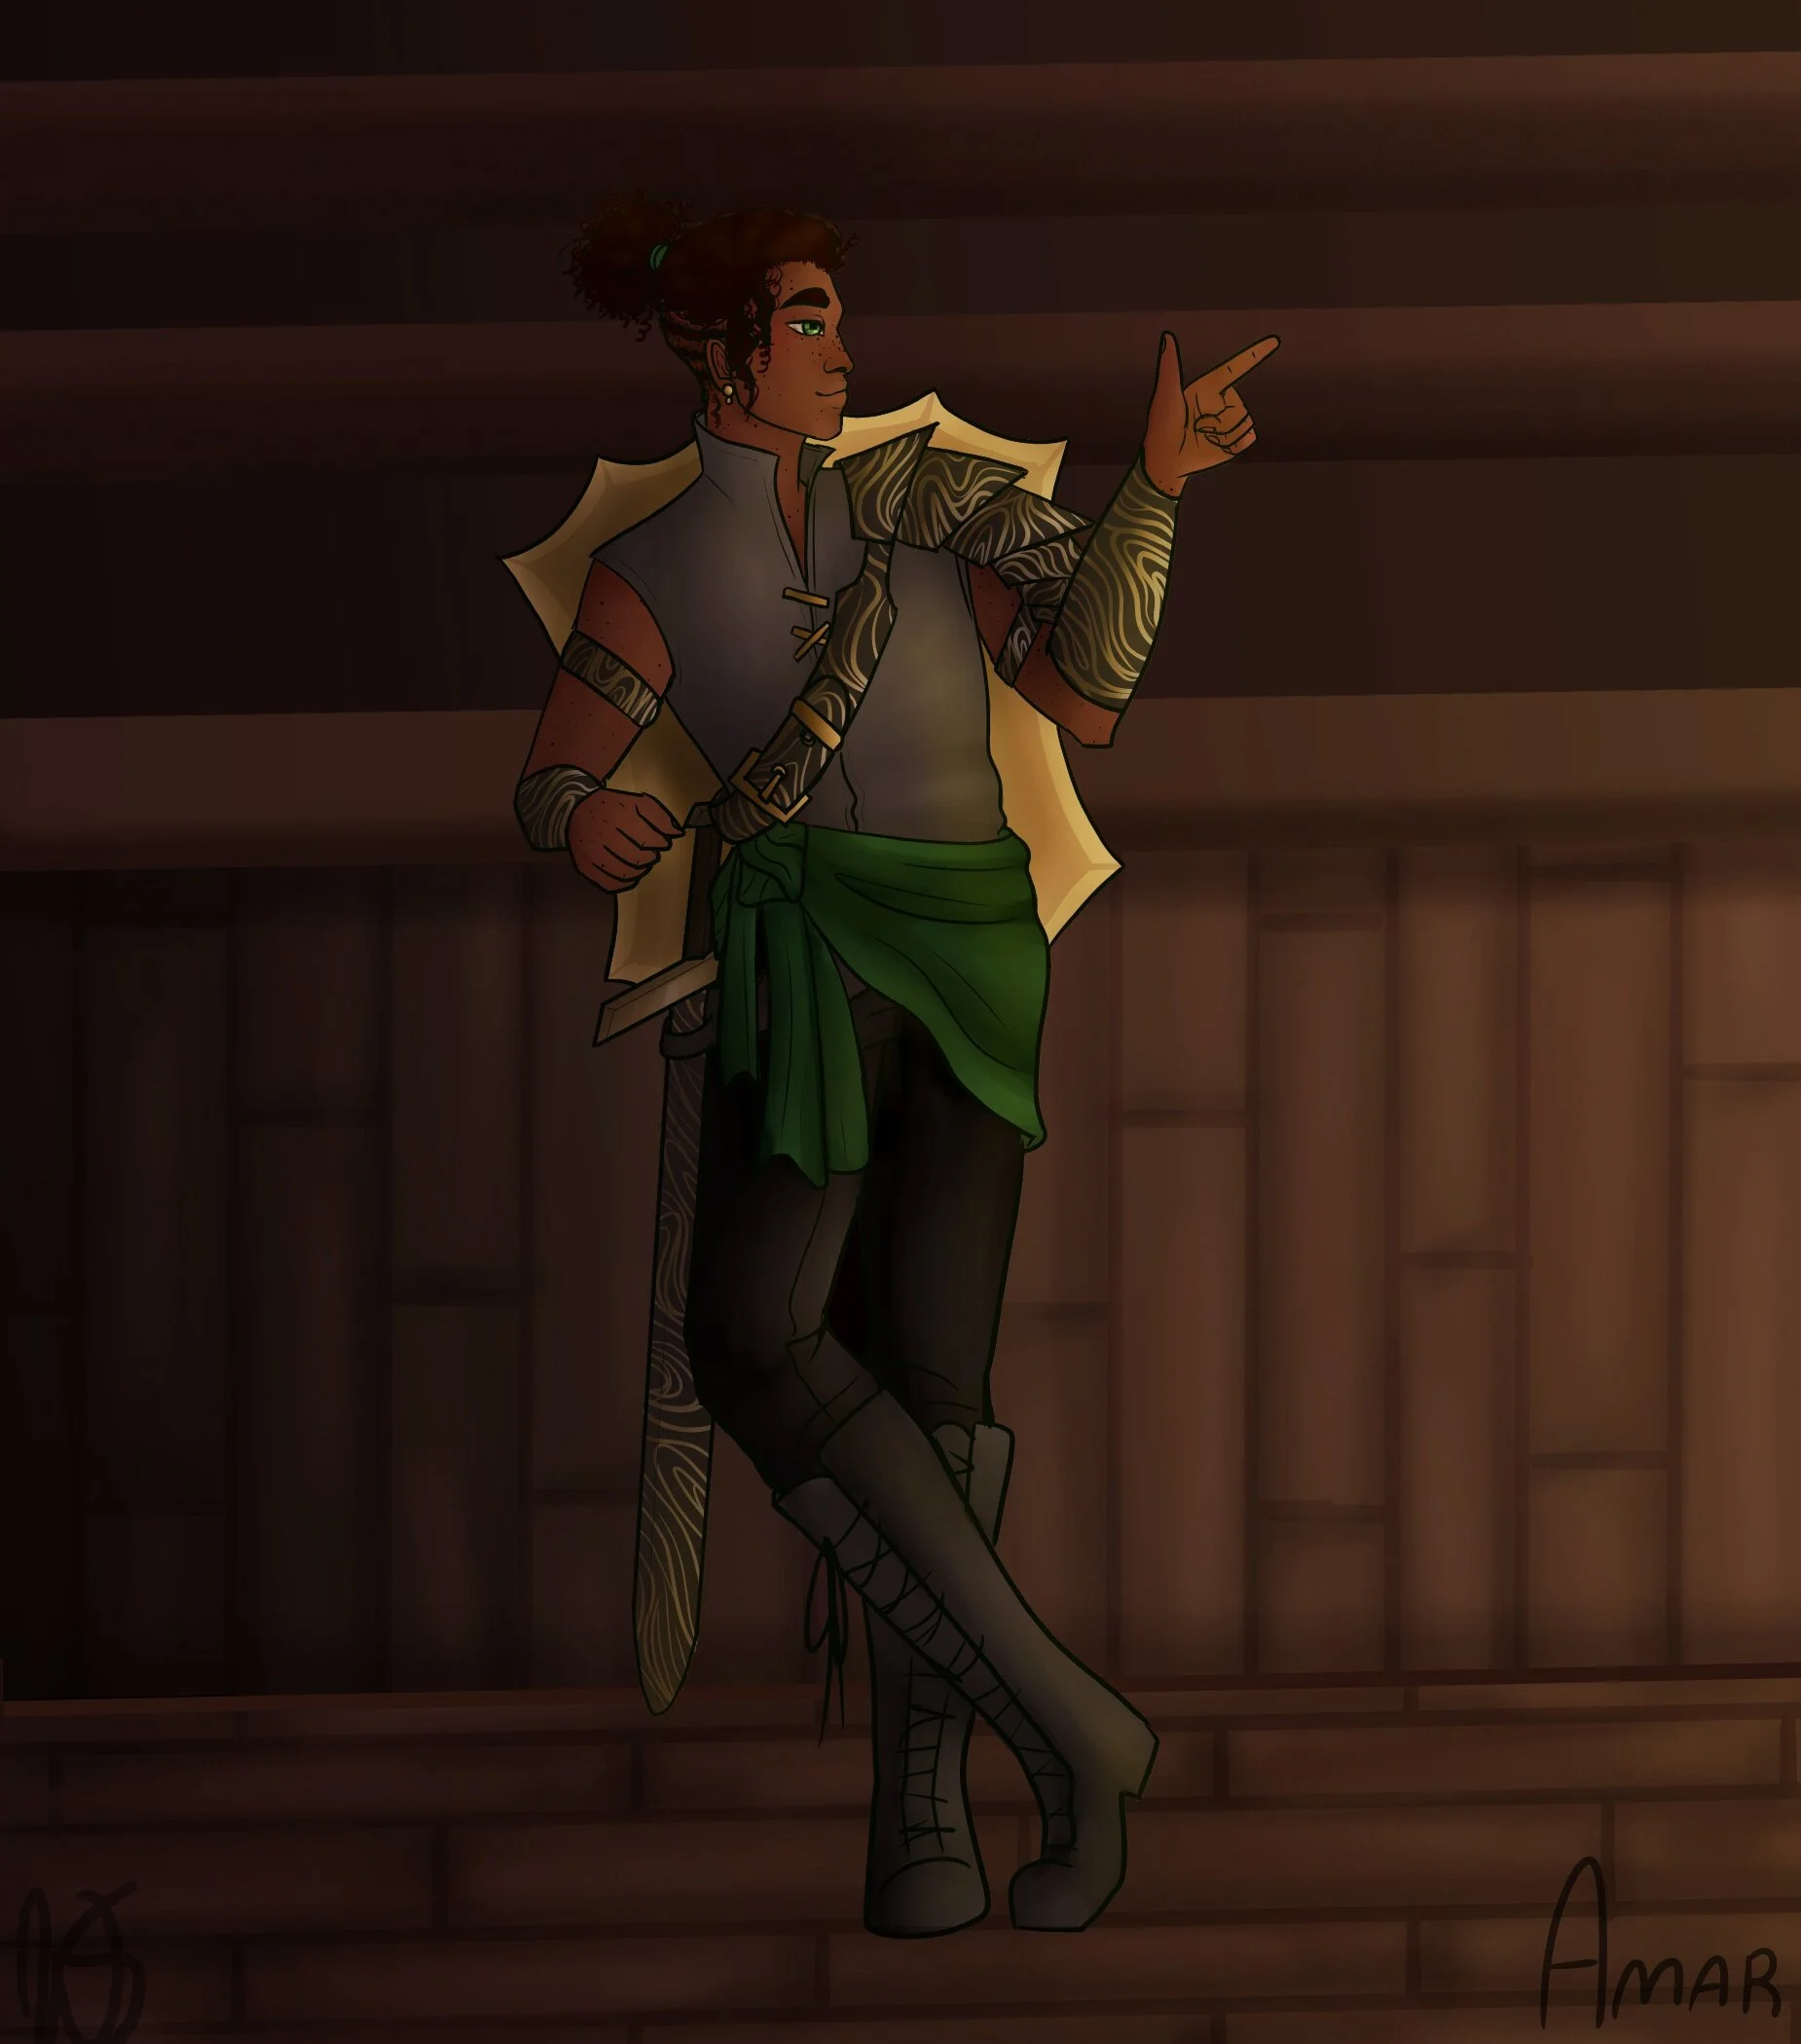
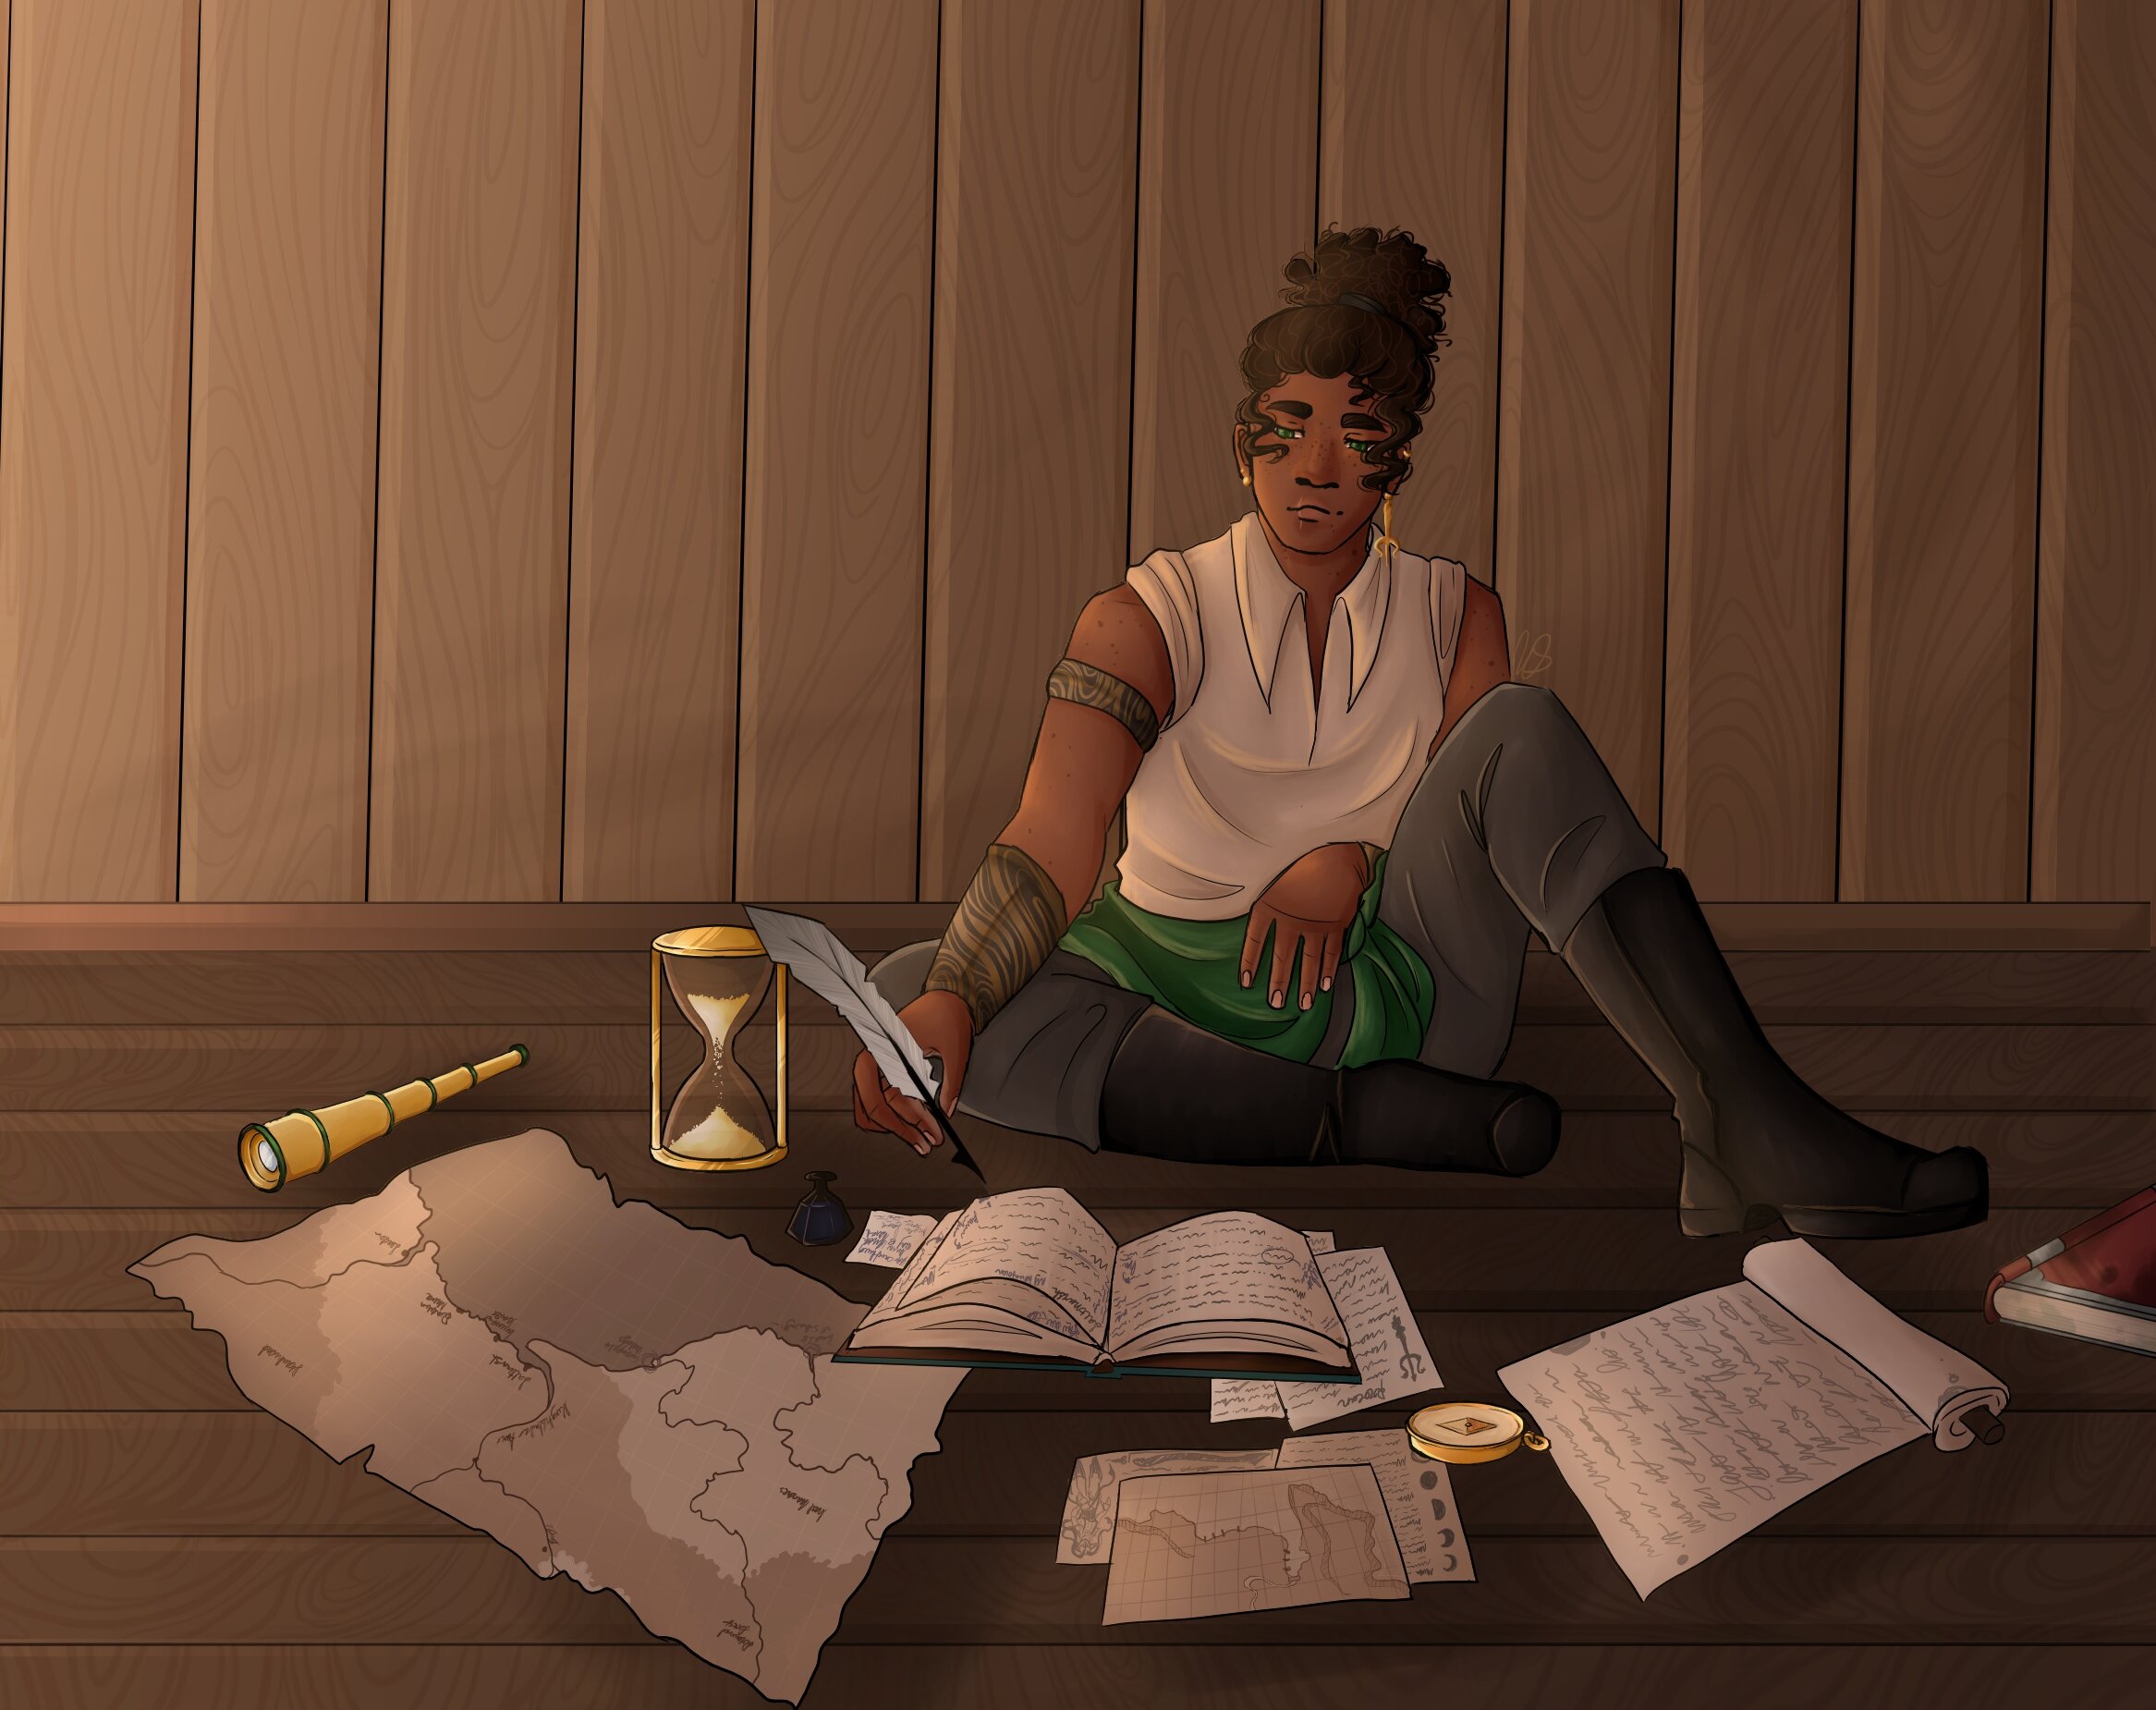
Gellan Primewater made an appearance in Hopene’er Asylum. He had been a prisoner there ever since he was accused of slavery and disappeared while being transferred to Seaton for trial early on in the campaign. Amar slipped the former council member a potion of gaseous form to allow him to escape. Little did Amar know that Gellan had been twisted into an agent of the Scarlet Brotherhood. Gellan eventually got Ned Shakeshaft captured and then the former council member stowed away on the Monkey’s Carnage.
I tied the Scarlet Brotherhood in Saltmarsh to Mr. Dory and his chained god fanatics. The chained god had become a major plot point of the campaign. The vampire spawn that were created in Saltmarsh when the brotherhood killed Xolec found their way here to work for Mr. Dory. They became the new guards in Mr. Dory’s warehouse along with a manticore. This tied Mr. Dory to the brotherhood and created a stronger thread that pulled through the whole campaign.
The Skum in the crane shed made no sense because they cannot be out of the water too long and there is no water in the shed. I replaced them with Deep Scion. The players were unable to kill the Deep Scion before they could use their Psychic Screech action to warn their companions of the characters’ assault.
Another plot thread that I laid down early was the addition of Eliander Fireborn’s daughter, La-a (again, never let your players name the NPCs, that is how you end up with “La-Dash-a”). The characters learned through Xolec that Eliander was being manipulated by the Scarlet Brotherhood because they were holding his daughter hostage. The Whisperer was keeping La-a in the Lamp’s Shadow.
The Whisperer taunted the characters any time they touched a doorknob in the temple. This was a bit of fun and got a couple of the more “smash ‘em and bash ‘em” characters looking for a fight.
I changed the map of the Whisperer to open up the location. I made the location larger and placed two hostages in cages on opposite sides of the room, Ned and La-a. The Whisperer gave the characters a choice as they entered the room of which one to save. The characters wisely chose La-a because Ned had more hit points (a fact that they did not know).
Wind and Master Refrum were investigating the Sunset’s Eye throughout the adventure and learned the secret of the gem in the necklace. It was one of the 333 Gems of Tharizdun. It would glow for three days when pointed in a specific direction after being washed in the blood of an aberration. This would lead the players to the next adventure in the campaign.
I removed the aboleths that had arrived from the Endless Nadir. I like the story elements that they brought, but it was ultimately not the story I wanted to tell. The deeper that we have gotten into this campaign the more changes that are made to maintain the central plot that I created. The aboleth added a storyline that would have been a loose end that would have distracted the players.
I replaced the juvenile kraken with Hood’s Gloom (click link for his stats). This was the entity that made an appearance during Salvage Operation which was another thread that I pulled through the campaign. Hood’s Gloom attacked the Monkey’s Carnage as the characters followed the direction the Sunset’s Eye was pointing them in. The fight with Hood’s Gloom nearly sunk Monkey’s Carnage (and I really wish that it had).
Aftermath
Dwayne’s player finally got her wish and the character died revealing that he is actually a goliath. The placing of the fallen mini on the battlemap was memorable, if only Urgag’s player had been there to witness it. Although he died, Dwayne got better.
The killing blow on Hood’s Gloom was struck by Mac. The river gnome was then struck by a black spirit that exited the abomination upon its death. When Mac opened his eyes afterwards they had turned completely black.
The damaged Monkey’s Carnage limped its way to Firewatch Island with the hope of finding a safe port to repair some of the damage.


