Ghosts of Saltmarsh: Chapter 5 - Isle of the Abbey
Evil has found a home in an old abbey in the Azure Sea and it is kept remote by a horde of undead. To keep Saltmarsh safe, someone must go and purge the island of its evil denizens, so that a lighthouse can be built.
Isle of the Abbey was designed by Randy Maxwell and was published in 1992 as part of Dungeon 34. In this 5e Dungeons & Dragons adventure, the characters are tasked with clearing an island so a new lighthouse can be built on it. They first need to forge a path through the Skull Dunes to reach the island proper. Once on the island, then it is only the matter of clearing an enclave of religious fanatics. And finally, going through the trap-filled Winding Way to find what secrets are hidden there.
This is the second of the stand-alone adventures in Ghosts of Saltmarsh. It was not originally created to be part of a campaign and it has been given a little bit of paint to make it work as part of Ghosts of Saltmarsh. I do not see this as a bad thing. This is more of an opportunity to expand the story and link the campaign to your characters and to the unique story you are telling. The clerics that live at the abbey are easily re-skinned to be worshippers of the Chained God or whatever evil entity you wish to use. The adventure has been updated to include the town of Saltmarsh which is the town looking to build a lighthouse to protect them from the sahuagin.
There is a bit of a backstory to what happened to the cultist before the characters arrived on the island. This is not the most important factor to the adventure, but it does give it a bit of personality. It explains why the cultists are living in the ruins and why their numbers are so depleted. The disarray of the abbey’s occupants can allow for some role-playing and let the players work the different factions against each other. It all depends on whether the characters can get the opportunity to do so.
Just like in Salvage Operation, you can lose the transportation suggestion that is provided at the beginning of the adventure if you are playing this as part of a campaign. My players had their characters sail to the island in Monkey’s Carnage (aka The Sea Ghost) and anchored off of the Skull Dunes. Do not worry about your players circumventing the Skull Dunes section of the adventure, because part of their task is to clear a path to the main part of the island. If they do not clear a path, then if they need to make a tactical retreat it is all the more difficult.
If the characters are not spotted clearing the Skull Dunes, then they will find the survivors in the cellars of the burned-out abbey. If they are spotted, then the survivors are going to set an ambush for the characters. The way the map is set up in the cellars, the characters can end up in a big throwdown whether they are spotted or not if it comes to combat. The fight in the cellar would be less organized for the cultists than if they ambush the characters on their way across the island.
Once the cultists have been taken care of, then it is only a matter of the characters finding their way into the Winding Way. The Winding Way is full of traps, undead, and treasure. If the characters survive this section of the adventure, then they can return to Saltmarsh and collect their reward.
Due to the different choices and styles of players, it is very hard to create a pre-packaged campaign that will work coherently with all groups. The spaces provided in the way that Ghosts of Saltmarsh was created allow for each campaign to be distinct and tailored for the players. The campaign is not a railroad, but a collection of adventures that can be linked to create a cohesive narrative.
Isle of the Abbey is a relatively simple adventure. It is a search and destroy mission with plenty of opportunities for role-playing and combat. There are ample ways to update the adventure to work with the story you are creating in your campaign. Isle of the Abbey also works well as a stand-alone and can be tweaked to work with any sea-based campaign.
How it Played
The Skull Dunes is a simple hack and slash encounter with ever-increasing stakes. My players devised strategies to focus their attacks and work as a team. The barbarian and paladin learned how they could synergize their abilities to maximize their attacks. The strategies that they devised on the sands of Skull Dunes showed up again and again throughout the rest of the campaign.
I provided a map of the Skull Dunes to my players that did not give away what lay beneath the sands (see the Resources section above). They knew that they would have to clear a path through and placed an “x” in the clear squares or in the areas that they cleared. By the time they had cleared a path they were spent, low on hit points and out of spell slots. They made a tactical retreat back to Monkey’s Carnage.
I had wanted to have the characters catch the occupants of the abbey by surprise, but I rolled and the party was spotted on the dunes. The cultists set a trap for when the party arrived the next day. One of the guards blocked their path to the abbey and demanded that the characters give up their ship while the rest of the cultists were hidden around the path. There was some back and forth, but ultimately the fight commenced. The fight was good and would have been better if I had not lost my notes (I found them later safely tucked into the pocket at the back of my binder).
The cellar of the abbey was mostly empty once the cultists had been dealt with during the ambush. The characters had a couple of role-playing encounters with two of the acolytes that had been left behind. There were a couple of the more powerful NPCs left behind and the fight with them was epic, but I’ll have to cover that in the What I Changed section below along with the outcome of the adventure.
What I Changed
Before the characters left for the Isle of the Abbey, a woman named Rylapay approached Mac and asked if he could keep an eye open for a necklace. It had a red gem and was set in black metal and it was called the Sunset’s Eye. Rylapay worked for Mr. Dory, a councilman from the Styes. Due to a medical condition, Mr. Dory was unable to attend the meetings in Saltmarsh about the upcoming war with the sahuagin. Rylapay attended the meetings and carried a crystal ball so that Mr. Dory could attend remotely. This was setting up encounters and NPCs the characters would have to deal with later.
This is the map I used in place of the one provided in the adventure, which was created by DysonLogos.
Mazes do not work in D&D, so I replaced the map of the Ruined Cellar and Winding Way with the map shown above in the Resources section (The Dungeons of the Prince of Clubs). By changing the map, I added water into the adventure. I also changed the vampiric jade statue into a vampiric jade shark statue. I kept the stat block the same and just replaced its walking speed with a swim speed. It swam around the building in the large cave.
Odium and a guard (veteran) were on the roof of the building in the large cavern. Two specters that had survived earlier had found their way into the cavern room. I had changed it so that the undead that had been in the Winding Way was working with the cult members.
There was a trap at the end of the bridge that led to the building. The characters ended up tripping it and it opened a hole in the floor. This came back later when the heavily armored barbarian rolled a 1 while jumping over it to get back across it. He fell into the jade shark-infested water and started sinking. Several players had to stop fighting to save the drowning half-orc.
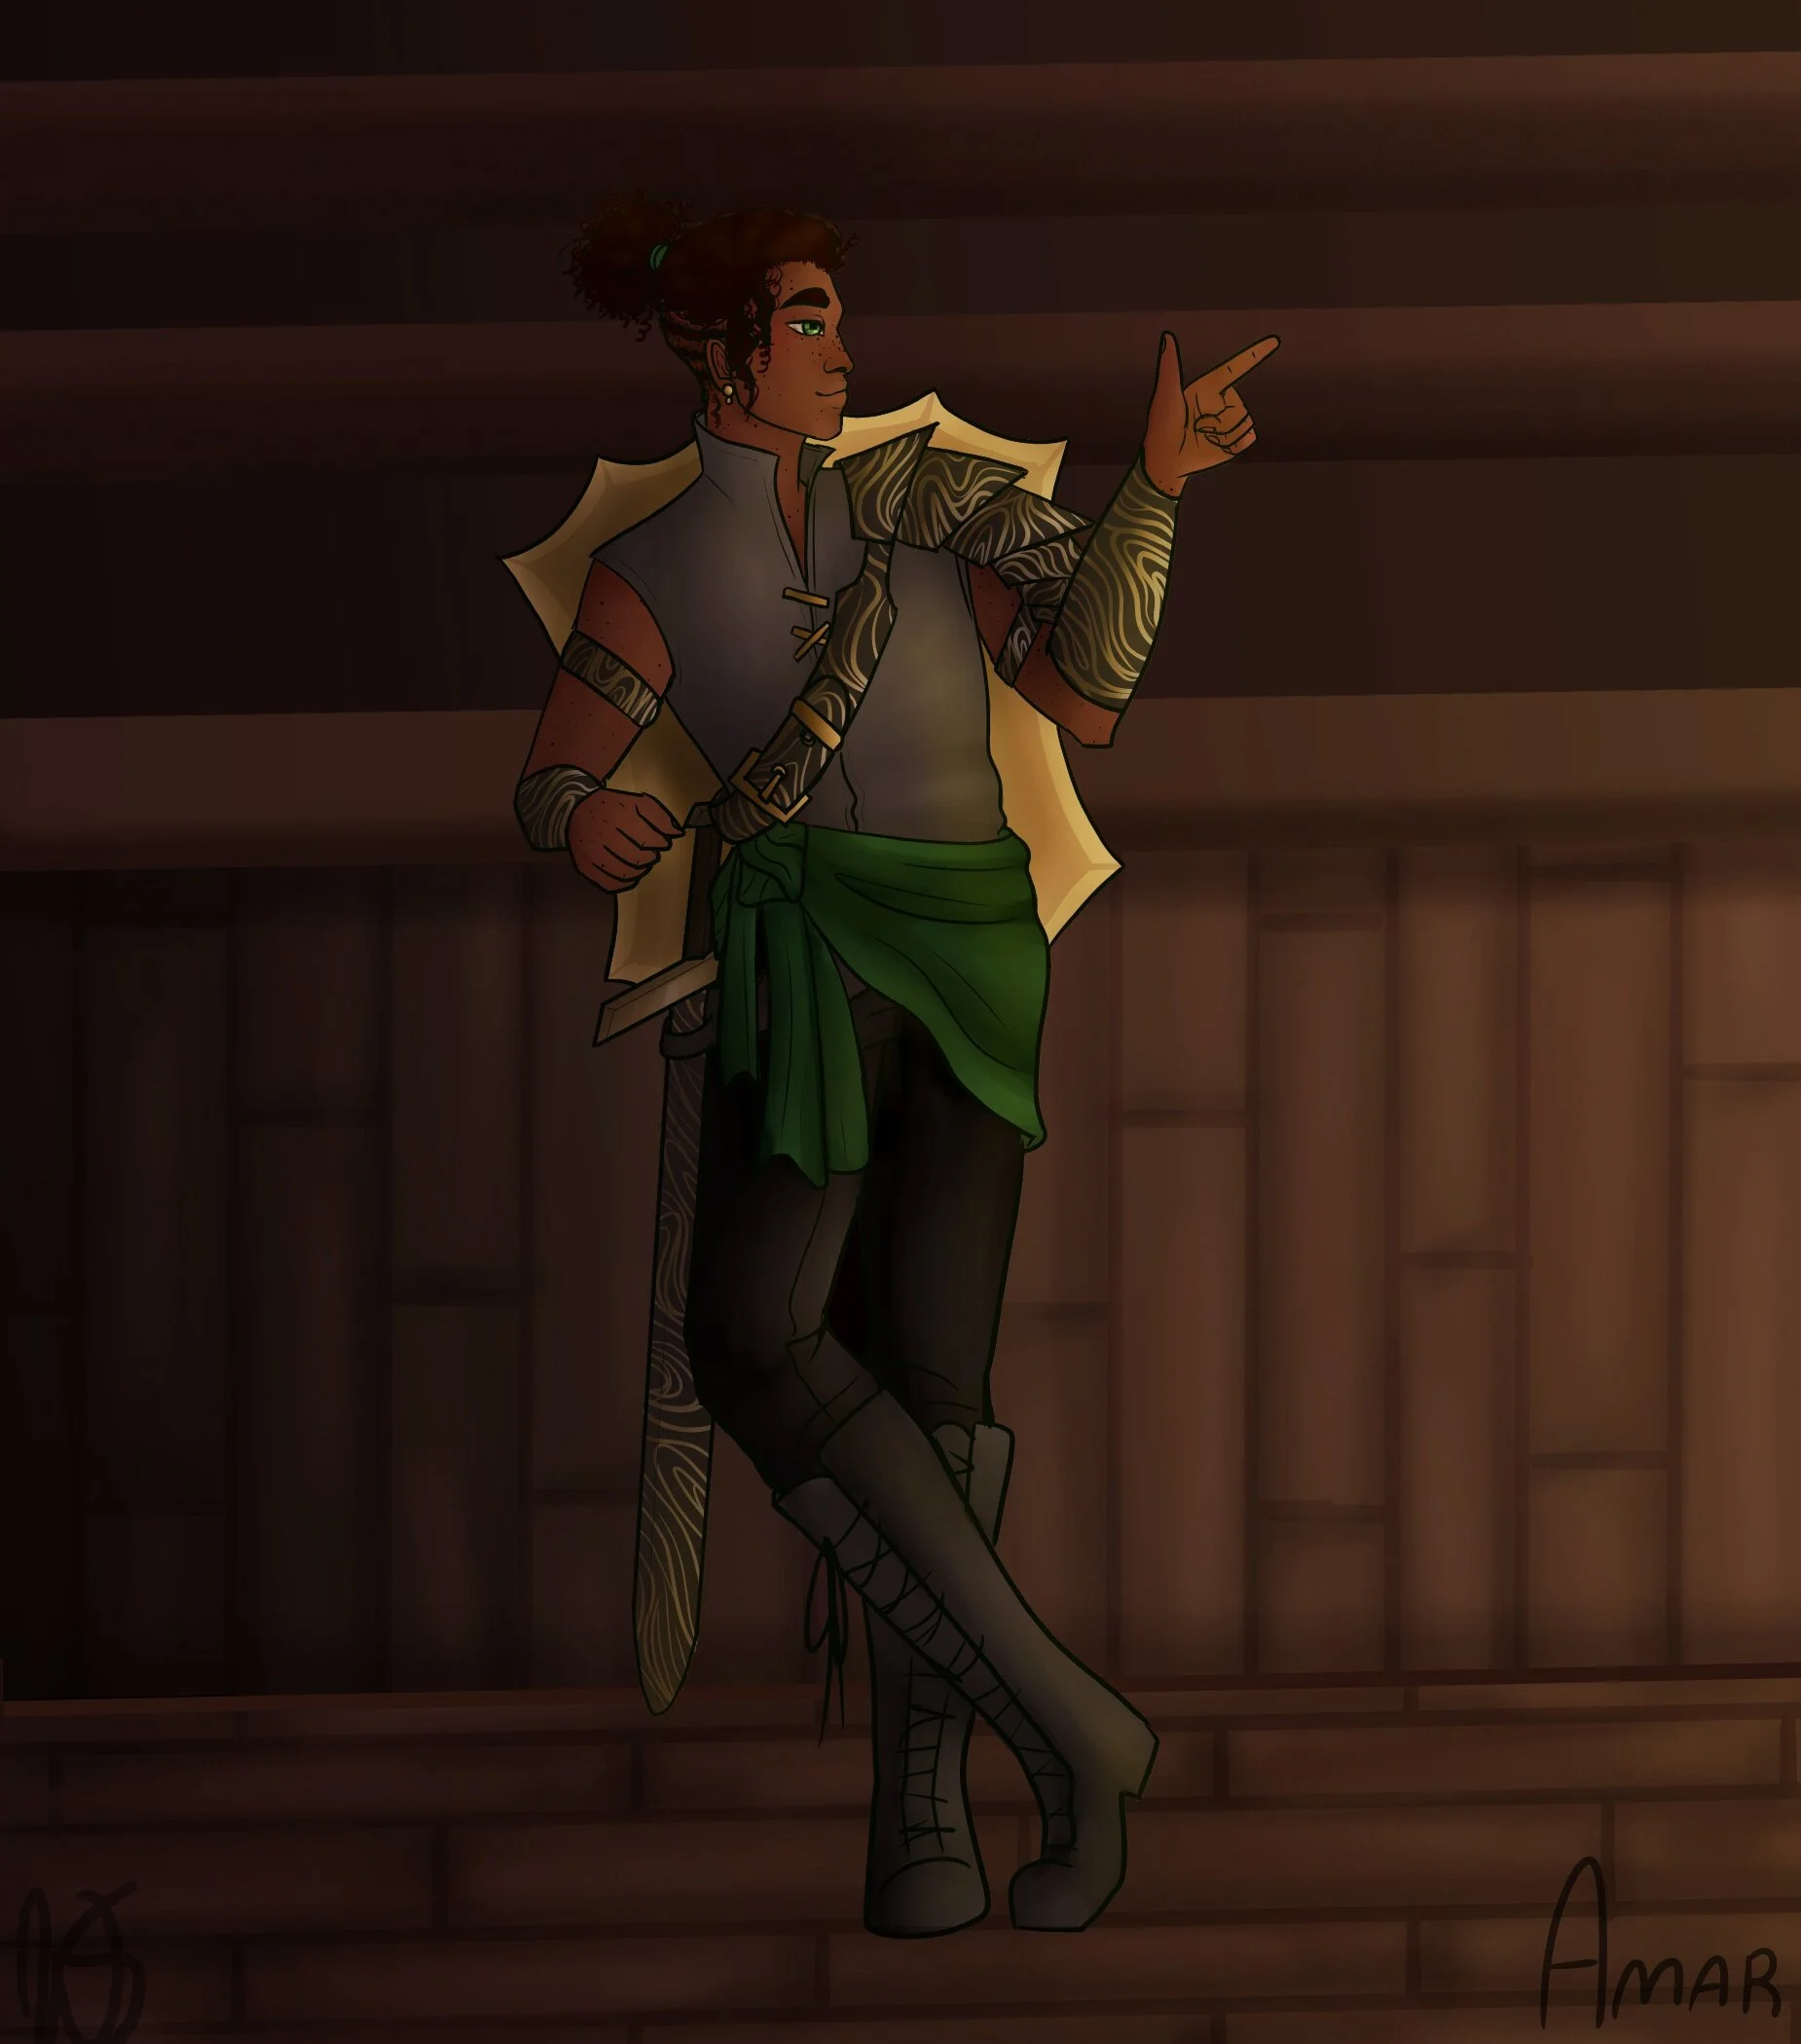
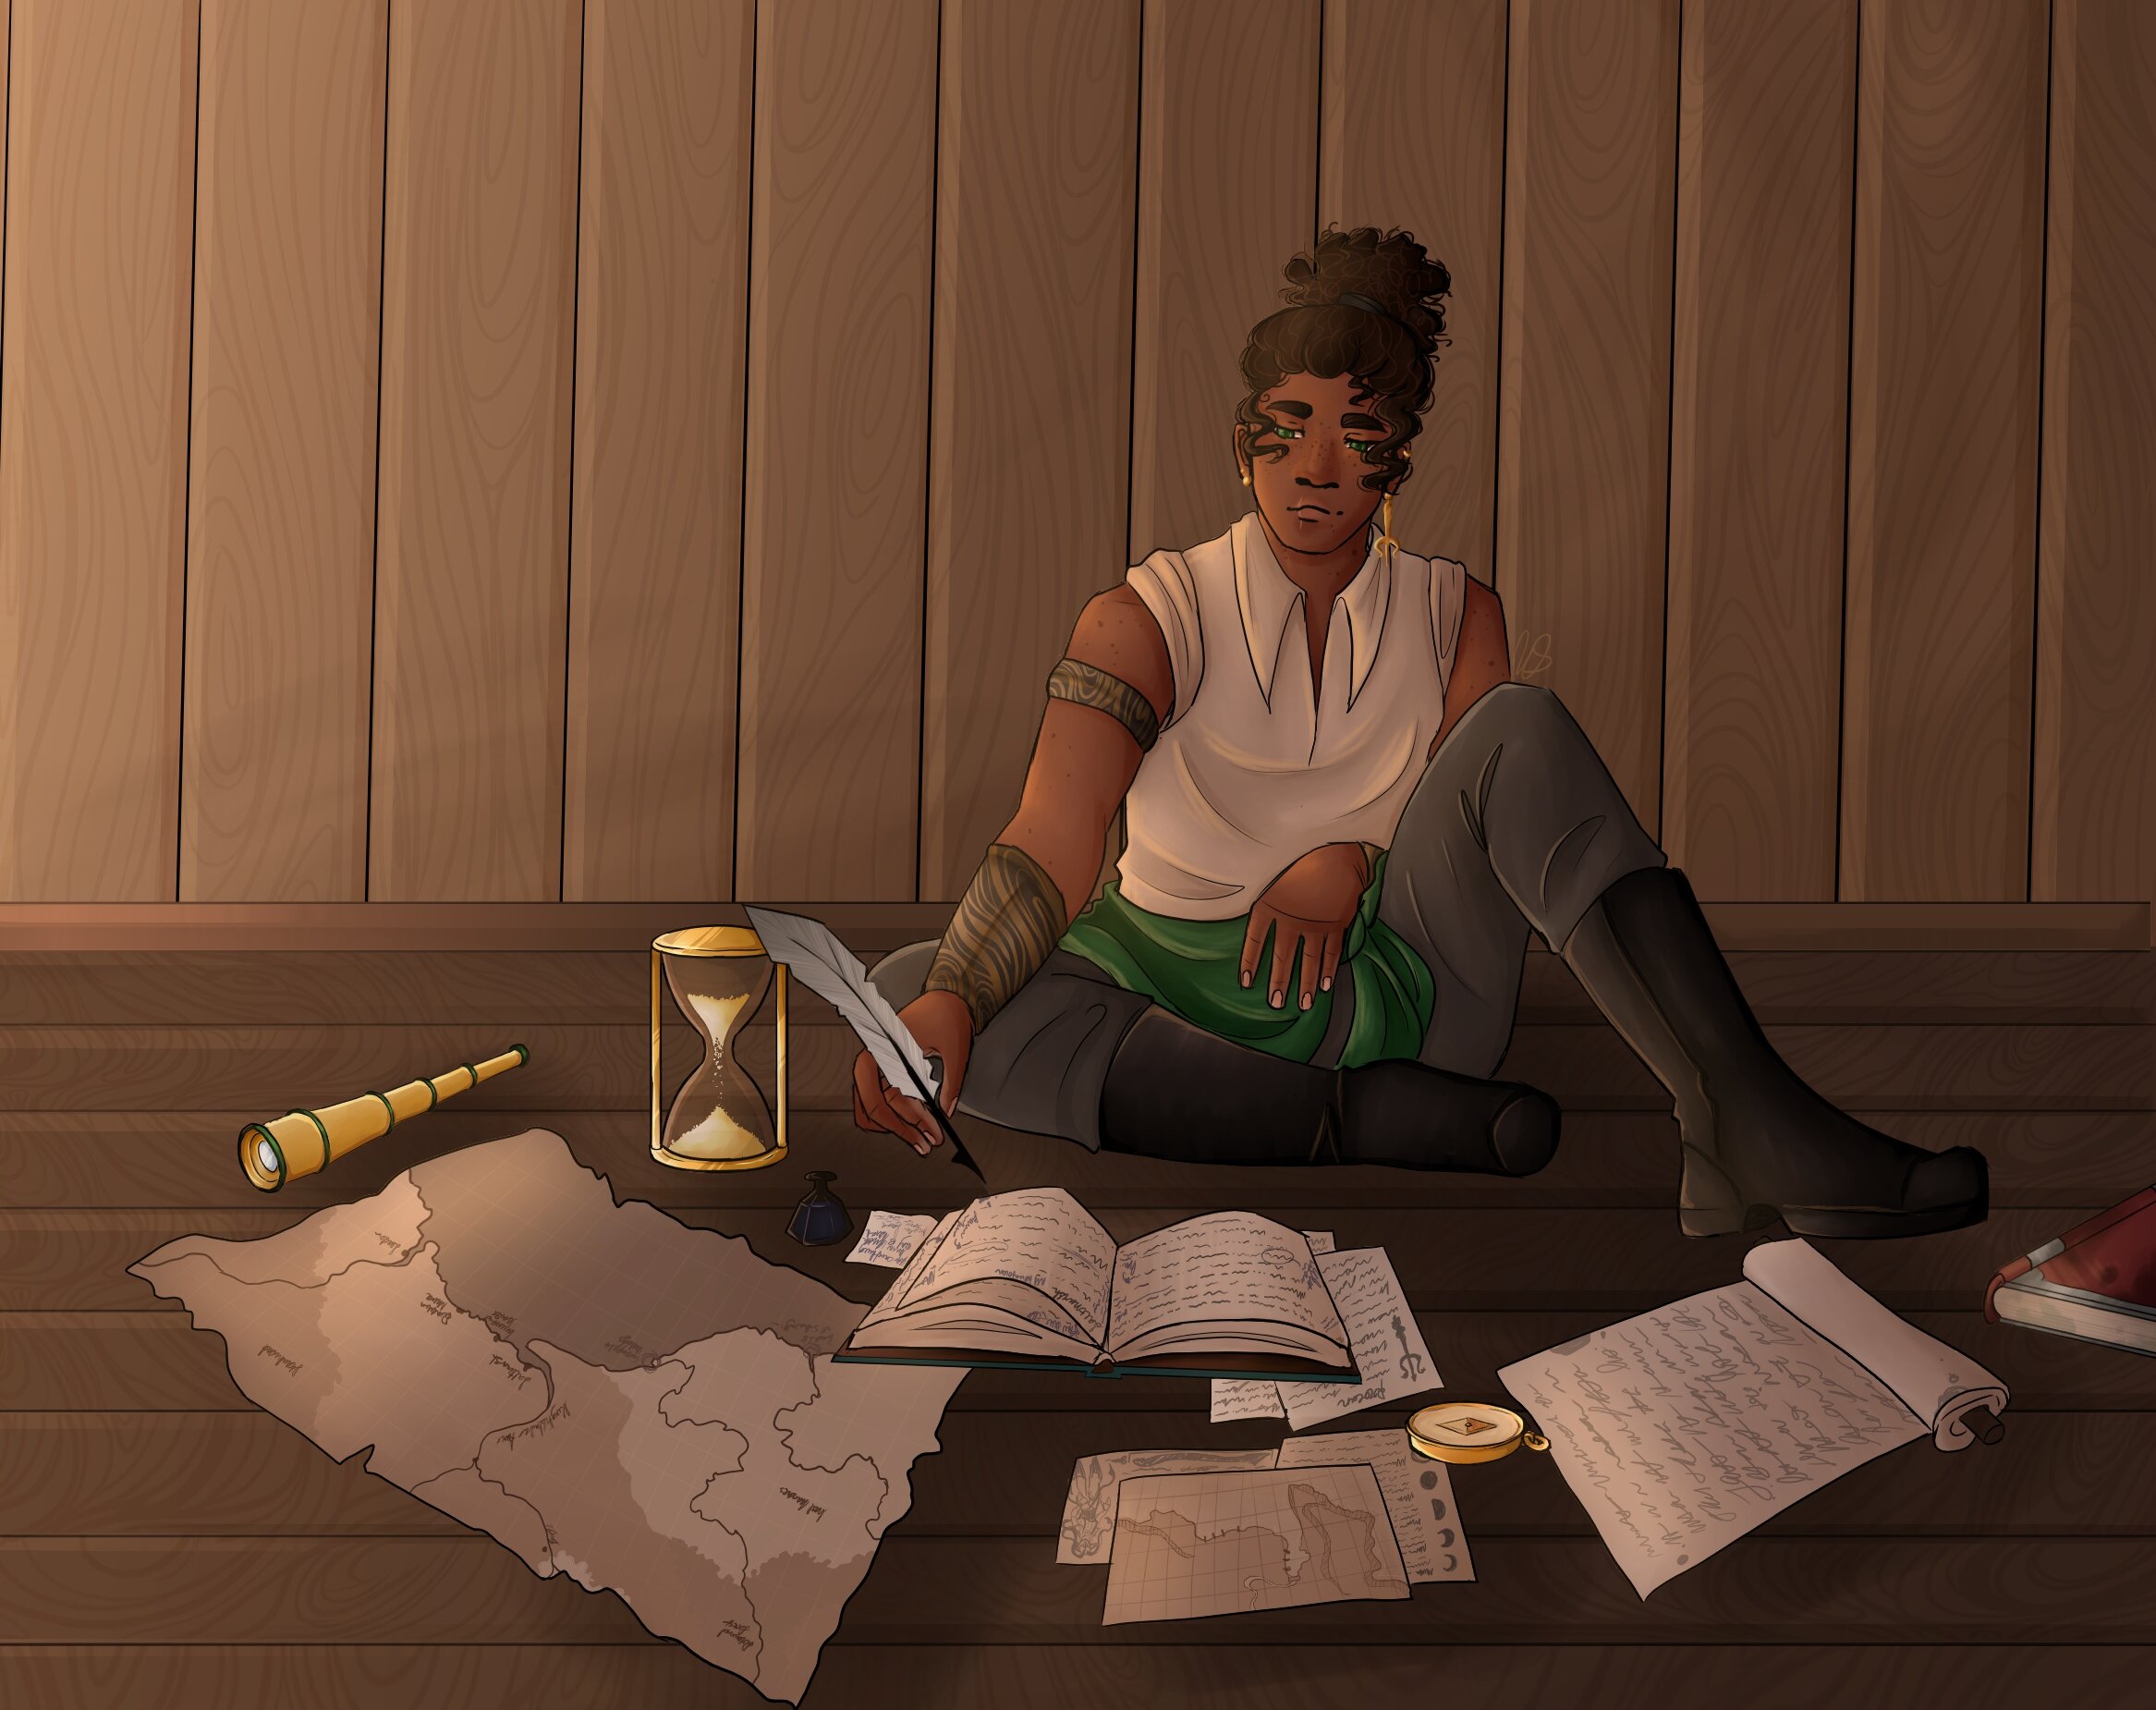
Amar pushed the guard off the roof, then jumped into the water to save the man from drowning. The guard thanked Amar, then said he wouldn’t kill the paladin, then pushed him into the water to let the shark try and kill him.
I placed a powerful magic item at the end of this adventure, a sword called Havoc-Breaker. The occupants were using the sword to fuel their undead. They were twisting its power to do this. Tidal (a divine sorcerer) and Wind (a celestial warlock/rogue) could feel the emanations of the darkness like a heartbeat that sent waves out. I will admit that I stole this idea from Sly Flourish.
I placed Havoc-Breaker for Amar to wield. The conflict between the paladin and the intelligent sword was very intriguing to me. Both Tidal and Wind could feel the Well of Tears and the twisting of Havoc-Breaker. They were the obvious two to make it to the side room where the Well of Tears was.
Once the false treasure was found and the undead had been taken care of, the party argued about what to do next. Tidal had turned herself invisible and slipped away heading to the Well of Tears. Two living iron statues protected the room and did not detect her as she entered the room. I described the room and she walked over without hesitation and pulled Havoc-Breaker out. And she died.
The fight with the statues commenced soon after and was unneeded. I shortened it since the real drama was the fallout from Tidal’s death. Wind begrudgingly healed her, then he picked up the sword and was immediately under its thrall (he failed his saving throw). One of the least likely of the party was now the wielder of a very powerful sword.
Aftermath
We had a new player join the campaign halfway through this adventure. Originally this person was supposed to join for Salvage Operation, but due to scheduling issues, this addition was delayed. I had already laid the groundwork and this person’s character had been hired as a cabin boy. Just as the fight in the waterfilled chamber began, Dwayne ran out to prove himself to his hero Amar.
I had hinted to the characters that there was a group of pirates called the Scum Pirates. These pirates made their debut as the characters left the island. As the characters were crossing the island, they spotted the mast of a ship sailing around the island. Whisper recognized the flag of the Scum Pirates and the chase was on. I devised a table of how well the characters rolled to row the skiff to the Monkey’s Carnage. Mac had saved a third level spell slot and sent a Message to the crew to prepare the ship.
The rest of the game day the characters came up with ideas on how to give themselves advantage when their captain and the pirate’s captain rolled an opposed skills check. The ideas were as simple as using Gust of Wind spells to the absurdly crazy idea of calling a shark and getting it to attack the rudder of the enemy ship. My personal favorite one was when they built a whale harness, then summoned a whale that helped to pull the ship forward. The only idea that did not work was when they made a good meal for the crew to boost spirits, but someone rolled low and the meal came out poorly. The party eventually won enough of the skills checks and was able to elude the pirates and return to Saltmarsh unscathed.
Xolec had taken up residence in Tidal’s house while the party was away. Tidal’s family had been well off but had fallen onto hard times. Tidal’s house was usually filled with squatters and ne’er-do-wells that over the years had stolen everything that was not nailed down or in Tidal’s room (which she kept well locked). Xolec had cleared out the squatters and had bought back items that had been stolen over the years. He also hired back several of the staff that had gone off to different jobs after the money had run out.
Xolec had learned more about the Scarlet Brotherhood. The vampire had discovered that Eliander Fireborn was being manipulated because his daughter La-a (pronounced La-dash-a (that is what you get when you allow players to name NPCs)) was being held prisoner by the Brotherhood. This piece of information would be important later on in the campaign.
Urgag asked to be bitten by Xolec. As the DM, I asked the player if he wanted to become a dhampir. The player had no idea about this new race and after he read about it, he answered with an emphatic yes. Urgag was no longer a half-orc.
Mac was visited by Rylapay, but this time she said that she was not the real Rylapay. She wanted Mac and the party to meet her associates in a warehouse owned by Anders. The party decided to stake out the warehouse and see who arrived. Amar was worried about his brother Remir and left him at Tidal’s house under the protection of Xolec. At the time of the meeting, a group of dwarves led by Manistrad Copperlocks approached the warehouse. The party confronted her and learned that she had also been approached by Rylapay about some meeting. At that moment, daylight exploded up on the hill where Tidal’s house was.
The Scarlet Brotherhood had learned about Xolec and wanted to get him out of the way. They attacked Tidal’s house with a large force of guards and veterans. During the week leading up to the game session, I had played out the attack. Xolec killed four of his attackers (that were turned into vampriespawn) and charmed another, but he was overwhelmed by the size of the force and died on the rooftop. Amar had raced back to the house to find his brother hiding under a bed.
The attacker that had been charmed by Xolec was tracked down by the party. They found him wandering around near the cliff that overlooked the Azure Sea. They recognized him as one of Anders’ men.
The next day, the party went with Eliander to confront Anders about the attack and it did not go well. Urgag tried to scale the wall and fight Skerrin when the butler would not allow them to enter. Eliander decided that they should all leave before things got out of hand. Mac offered to play a concert at Anders’ house as an apology. Throughout the concert, the party members were able to find evidence against Skerrin and the Scarlet Brotherhood. The characters revealed the brotherhood to Eliander, who ended up arresting Skerrin. The vampirespawn escaped during the chaos. We also learned that Mac’s fans are called the Mac-Daddies.
The party left a few days later to go to scout out the sahuagin fortress. In my head, this was to be the last time that the players set foot in Saltmarsh until the campaign was over, but that is not how it played out.


