Ghosts of Saltmarsh: Chapter 2 - Sinister Secret of Saltmarsh
A haunted house sits on a bluff near the town of Saltmarsh. For years it has sat derelict watching mournfully over the waters of the Azure Sea. Tales are told on dark nights about what ghosts roam its dusty halls left behind after its owner, the old alchemist, disappeared. There are rumors about those that have gone to investigate it, they either come back and talk of horrors that they saw or they don’t come back at all.
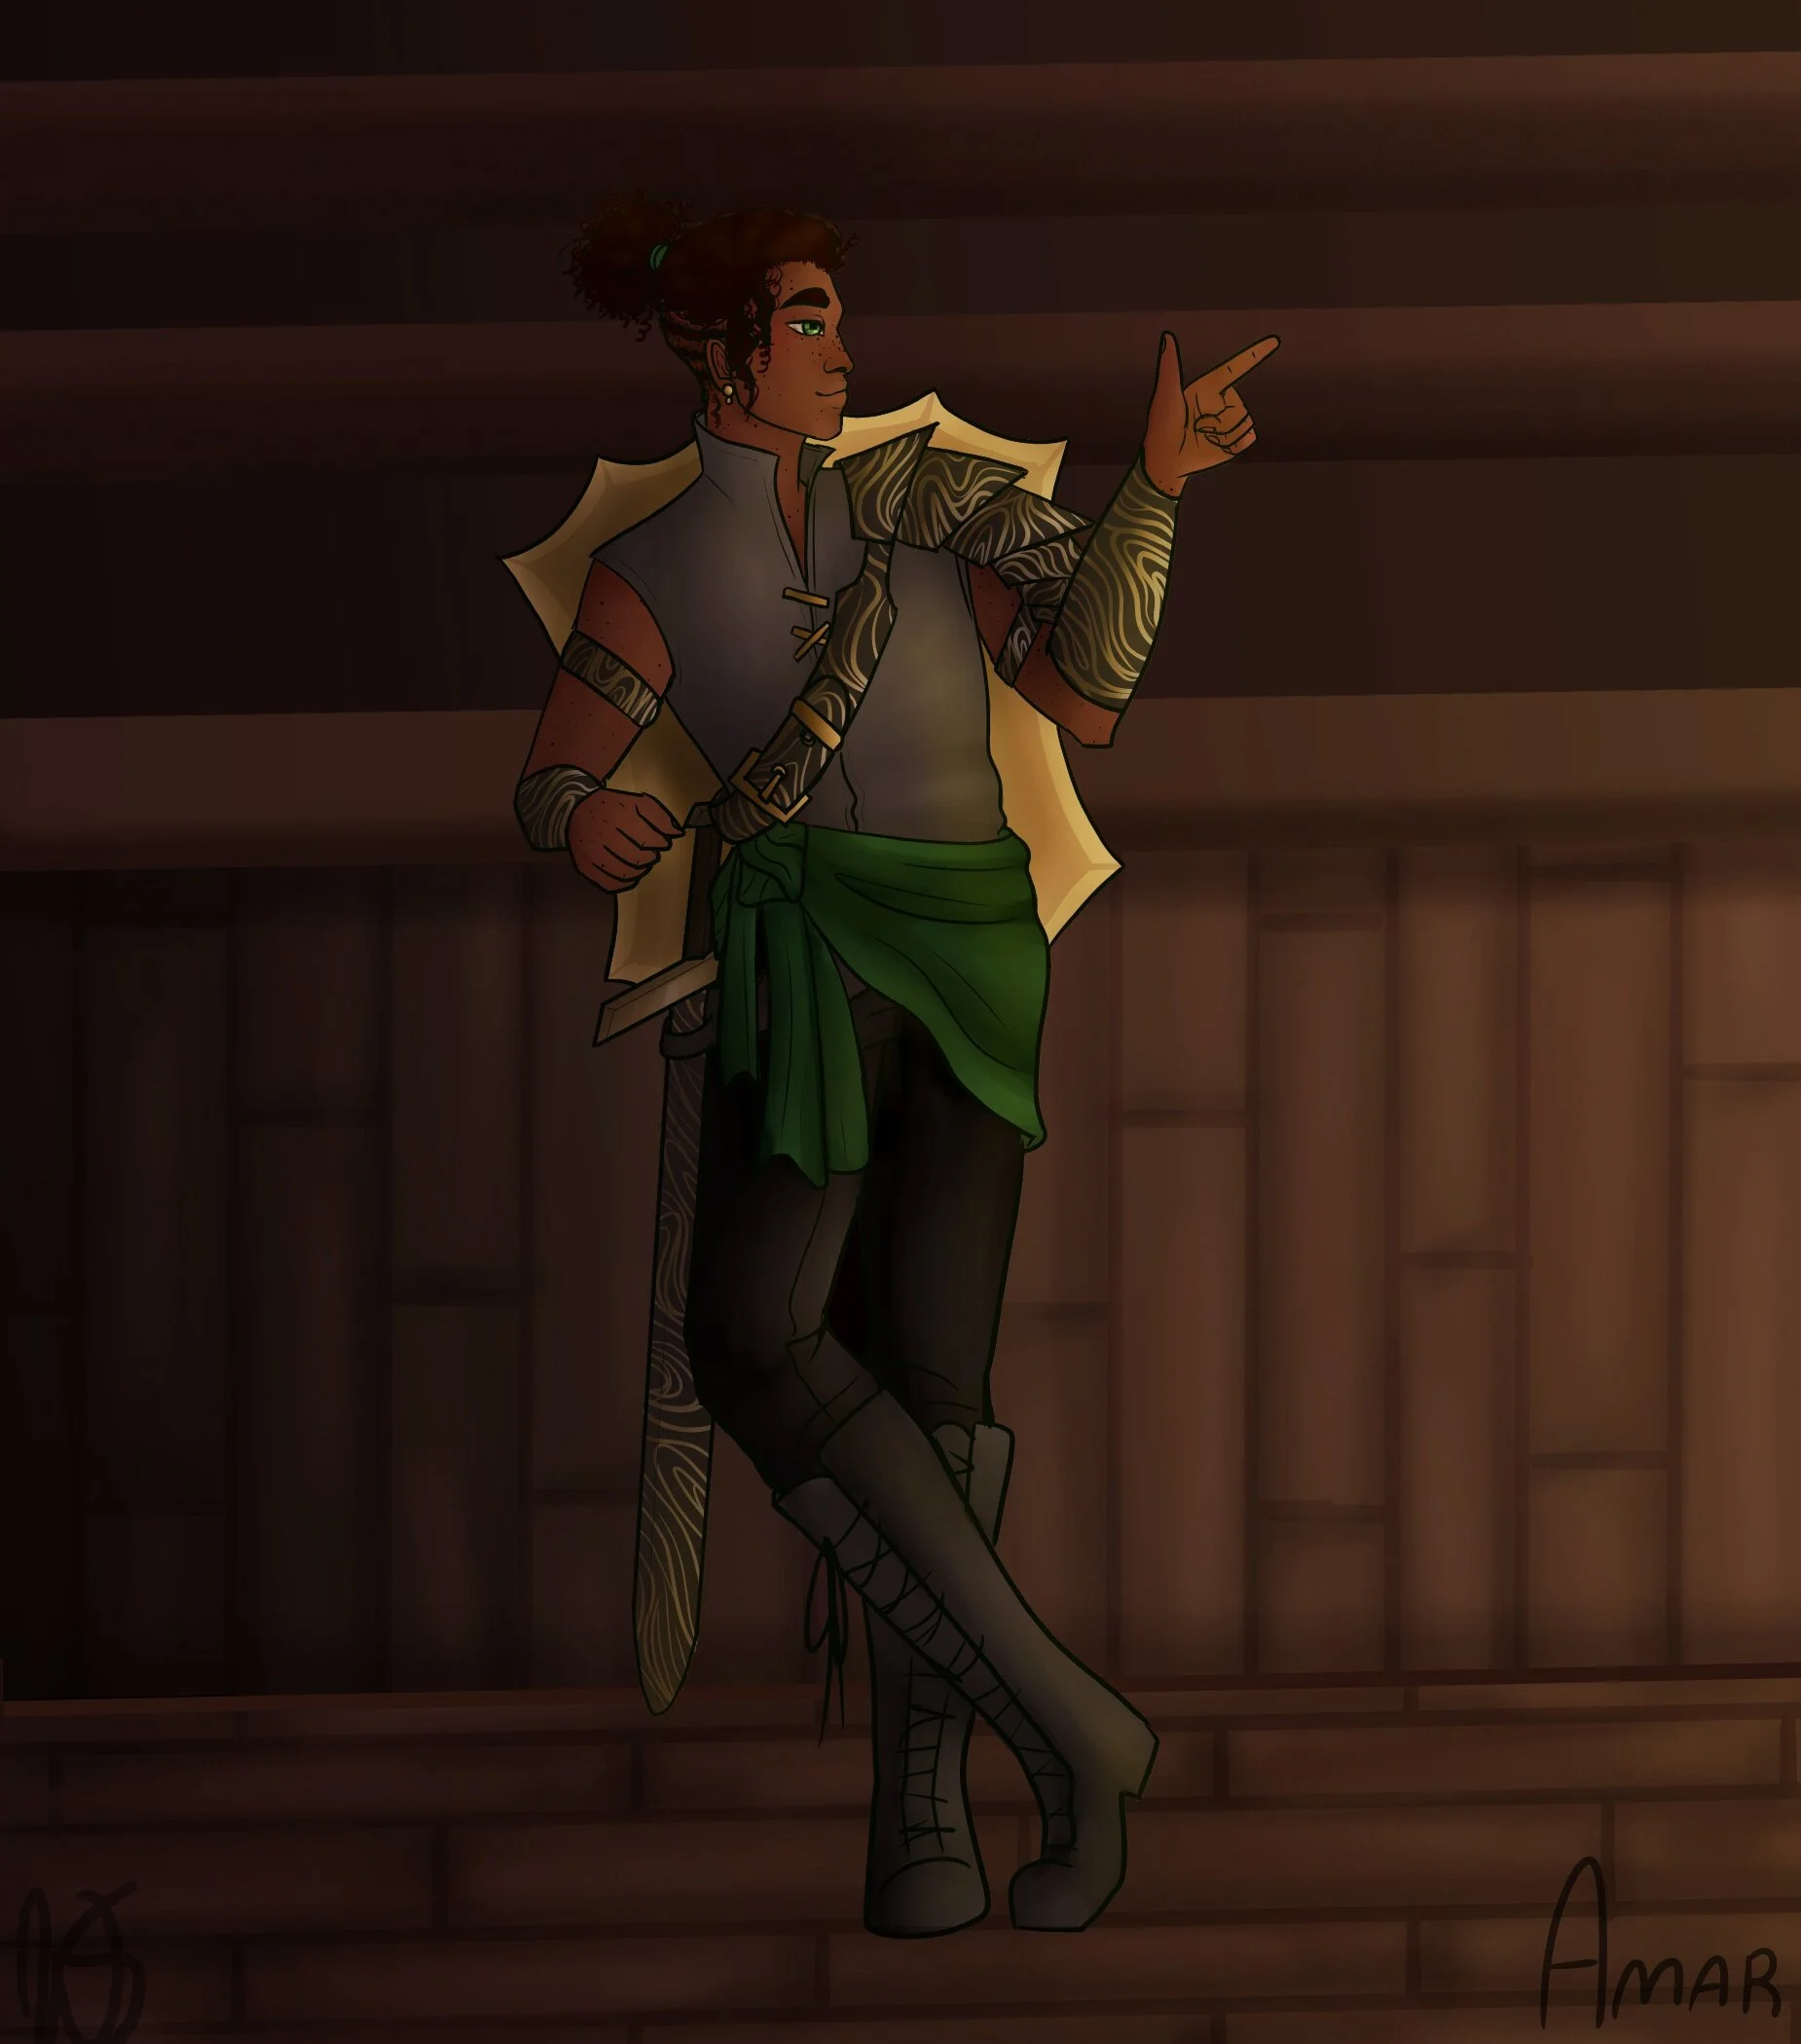
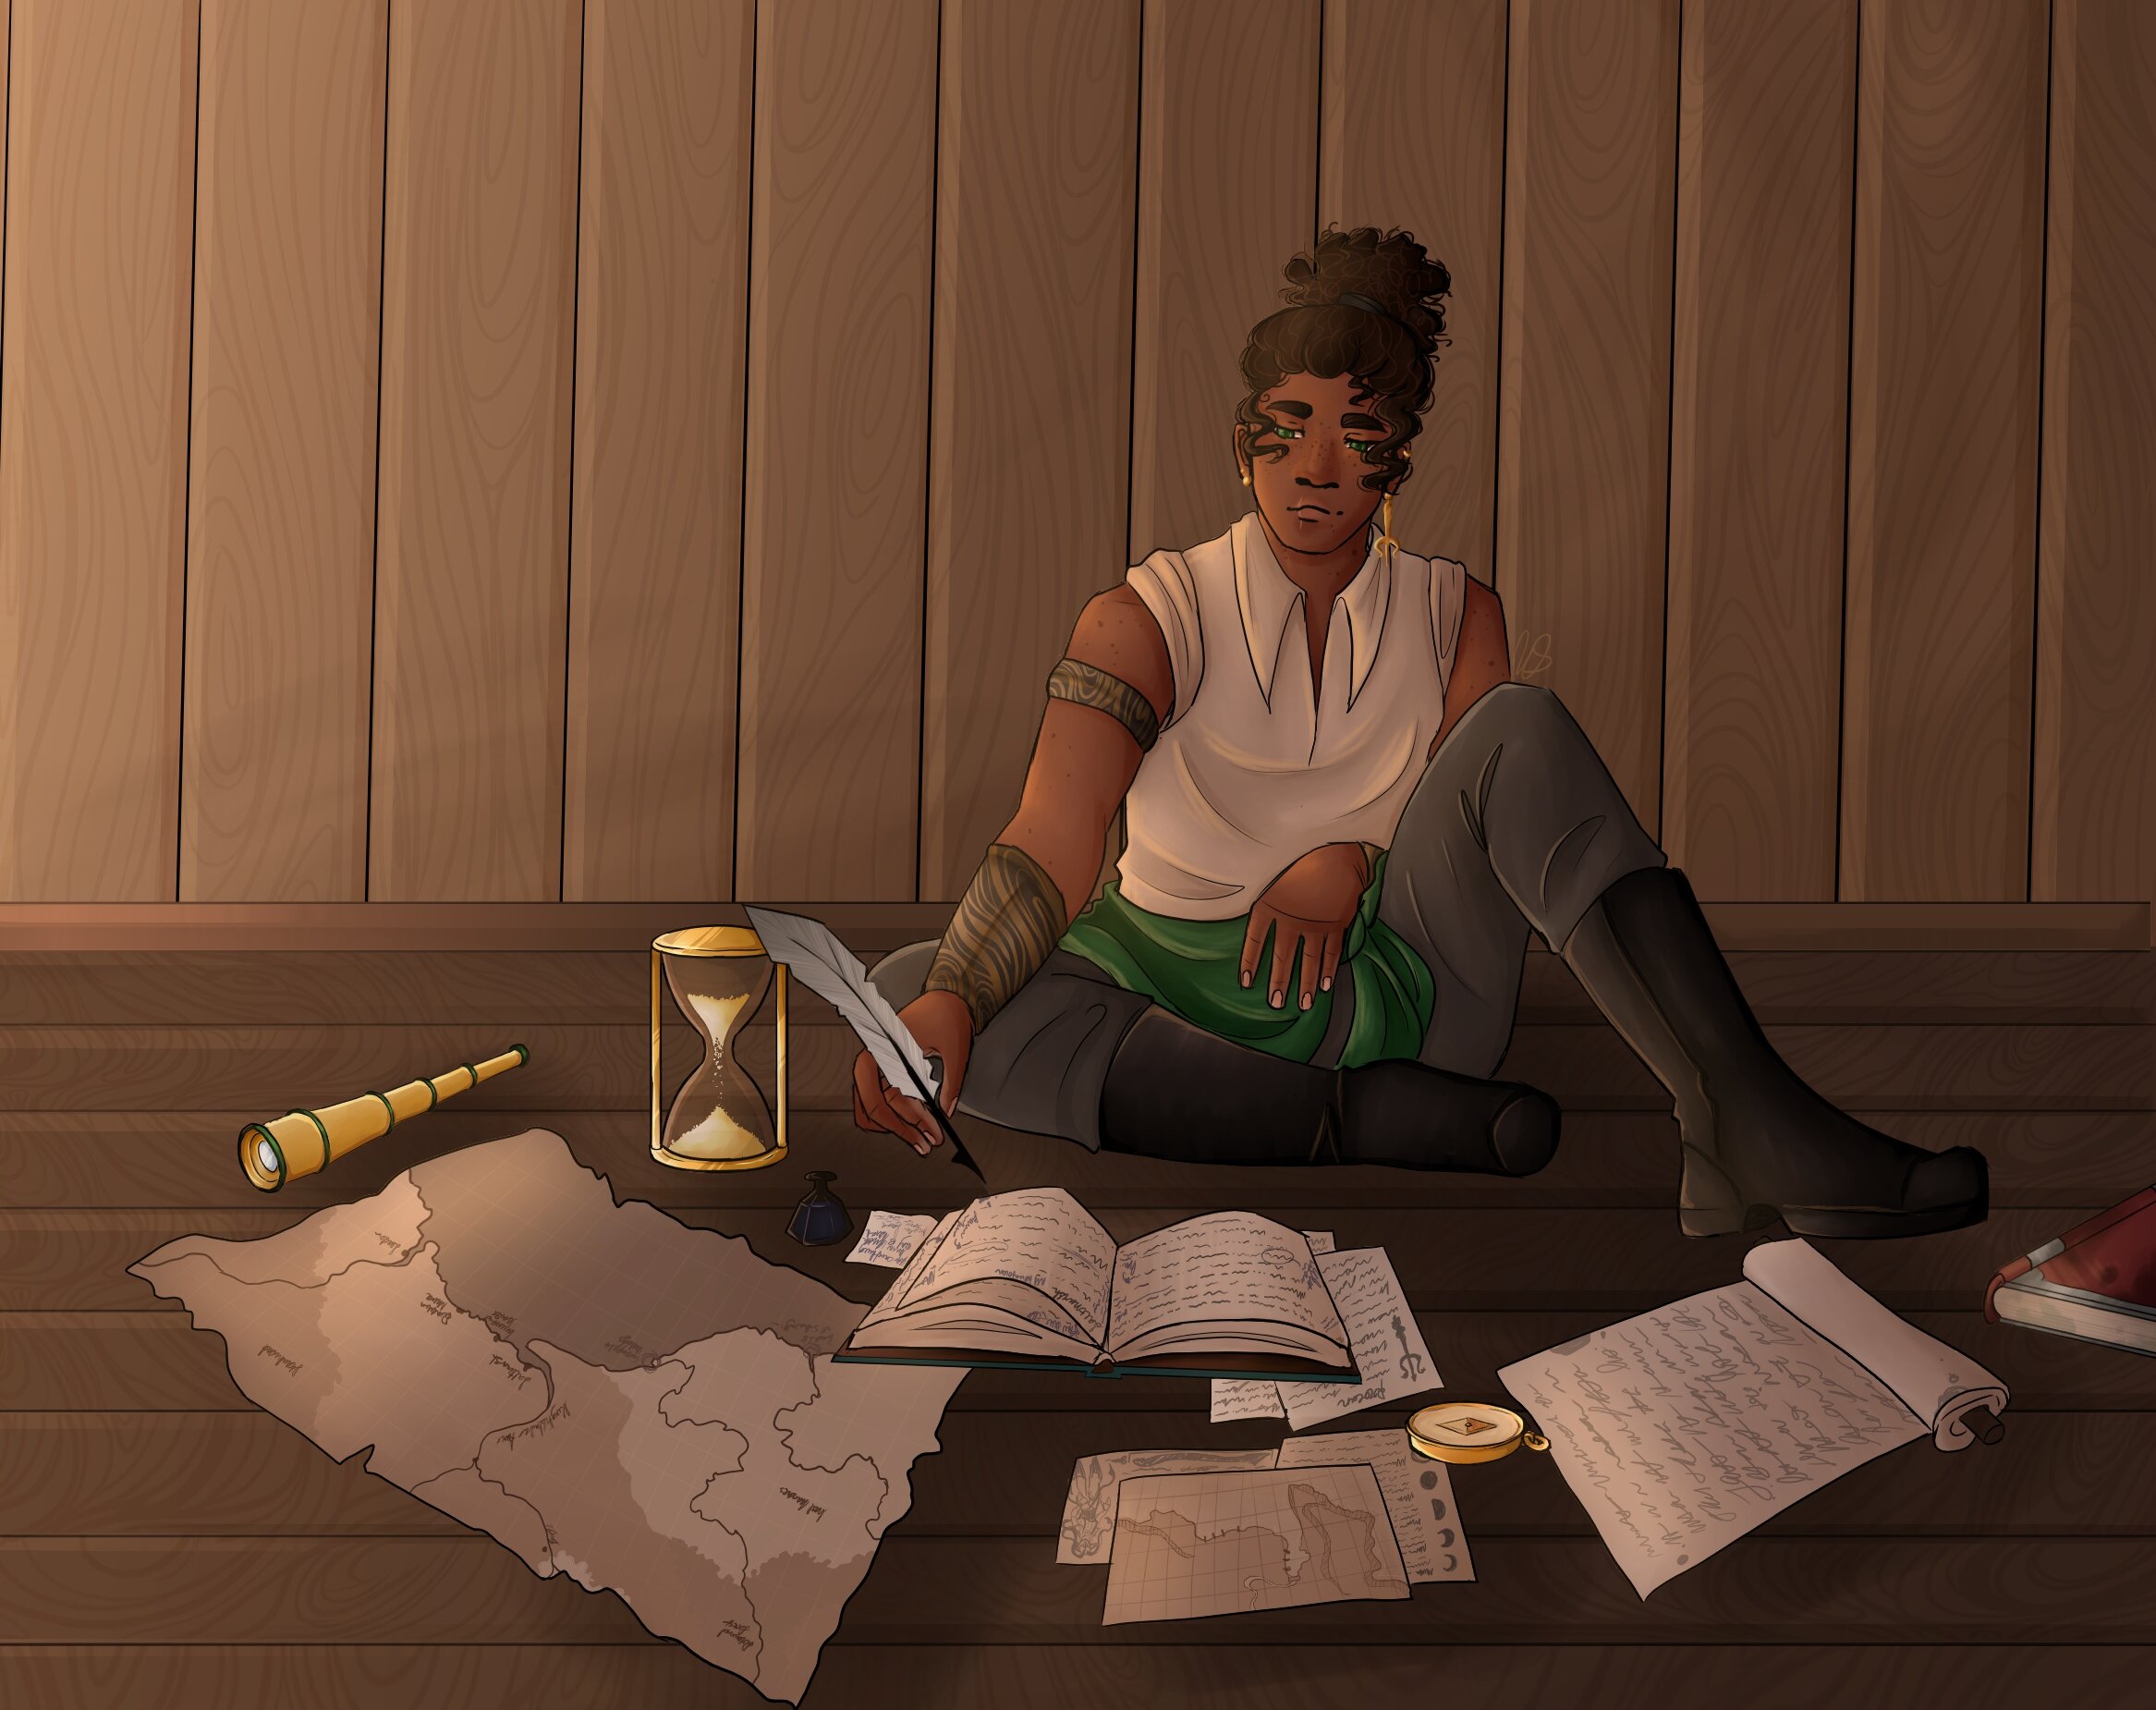
Click the image to see more great art by the contributing artists.
This adventure was originally published in 1981 and was designed by Dave J. Brown and Don Turnball. It is the first of three adventures in the 5e Dungeons & Dragons campaign book Ghosts of Saltmarsh that are narratively tied together and to the town of Saltmarsh. This is where the campaign starts. This is the only adventure that my party walked to, after this it was all about sailing. The book breaks the adventure into two parts, but I see it as three. They are the house, the smuggler’s lair, and the Sea Ghost. By the end of the Sinister Secret of Saltmarsh, the characters will be third level.
There are three adventure hooks provided to get the characters to go to the old alchemist’s house. These hooks are very focused on the house being haunted and the potential of finding treasure. If you have a party of players that have more beer and pretzel mindset, these are fine adventure hooks. I was looking to create a more story-based campaign with characters that were looking out for the greater good of their community. I’ll discuss the hook I used in the What I Changed section below.
The house is full of low-level monsters, natural hazards, and some clues to what lies beneath the house. If the characters are smart, they’ll take the time to go through the different floors of the house to find clues that can help them later. Plus, there is an important NPC bound and gagged on the second floor.
The smuggler’s lair is in the cellar of the house and some natural caves that open up onto the Azure Sea. The characters will encounter the smugglers led by their leader Sanbalet down here. They also might run into the original owner of the house in the form of a skeletal alchemist and his skeleton minions. Here is where the combat can get a little rough. The characters may have to make a tactical retreat at this point before clearing the smugglers’ lair. This will ruin any element of surprise until the final section of this adventure.
Finally, the characters will assault the smugglers’ ship, the Sea Ghost. The characters will be second level, which will give them more abilities and resources to draw upon (not to mention more hit points). The Sea Ghost is not at the house when the characters start the adventure, which will allow them to plan this assault. For new players, you will want to stress the importance of planning how they will deal with the Sea Ghost when it returns. More experienced players will see the opportunities to use subterfuge to enhance their plan.
The original adventure was written at a time when there were not many character races to choose from, and none that were available had any kind of water breathing abilities. This comes through quite a bit when you read the chapter, especially during The Sea Ghost section. If your players have created characters that can swim, breath underwater, or do both, it will give them a tactical advantage that the original writers did not see coming. This will also allow for more variety of the plan that the players can put together. There are suggestions in the adventure for how many rounds it will take for the obvious choices that the characters will come up with, but none for water breathing characters. Make sure you take time to decide how you will deal with plans that include such contingencies.
This adventure starts sort of basic with a dungeon crawl in a haunted house, which might have been more exciting, but I had recently run two adventures that had taken place in haunted houses. The smugglers’ lair required more tactical thinking from my players, which was not their strong suit at that time. The real gem of this adventure is the assault on the Sea Ghost. Depending on the players’ plan, this could include role-playing, subterfuge, and combat. It is very important to give your players the opportunity to plan their assault on the Sea Ghost. There is built-in time in the adventure from when they clear the house to the ship’s arrival. Let your party use this time wisely. The raid on the Sea Ghost is one of the most fun combats I have ever run. My players had come up with an excellent plan that only succeeded because of a failed skill check.
Sinister Secret of Saltmarsh is a very good start to the Ghosts of Saltmarsh campaign. A good session zero will lay the foundation for this adventure and provide hooks that will start the campaign that you want to run. This adventure also sets up the hook that will lead the characters easily to the next adventure, Danger at Dunwater, without much effort from the DM.
How it Played
Once they had decided to investigate the haunted house, the party went straight to it. They did very little investigation around the house, so those encounters did not happen. As soon as they entered the house, they made a beeline straight for the Living Area and discovered the secret trap door. The description says that as soon as the characters get within five feet of the trapdoor the Magic Mouth is triggered. I had it trigger only once the characters opened it, which they did immediately. They loved the booming voice with its warning, they proceeded to keep opening and closing the trapdoor to hear it. This eliminated any chance for surprising the smugglers in the lair below.
Amazingly, they decided to check out the whole house before going down into the lair. They went through every room and checked every nook and cranny except the Crumbling Bedroom (area 14). You know, the one with all the clues. They rescued the gagged and bound Ned Shakeshaft (area 15) and returned his missing clothes and equipment they found in the Box Room (area 17).
Once they had exhausted all of the encounters in the house proper, they headed down into the smugglers’ lair. Two of the characters argued all the way down the stairs into the Cellar (area 21) about who should go first. If they had not triggered the Magic Mouth, there was no way that they were not going to be detected by the smugglers in the Cellar. Upon opening the door, the smugglers attacked taking one of the PCs all the way down to one hit point. With Ned’s help, the characters were able to clear the Cellar, the Skeletons’ Room (area 23), and Laboratory (area 24). They ransacked Sanbalet’s Private Quarters (area 22), then made a tactical retreat back to Saltmarsh.
After a long rest, the characters returned to the haunted house to finish clearing out the smugglers. This time the smugglers set a trap for the characters in the natural caverns. The characters found themselves surrounded, but were able to fight their way to victory. From the couple of smugglers that they captured, they learned about the operation and about the Sea Ghost, which would be returning in a couple of weeks.
The original adventure from 1981 included a handout that the players find while they search through Sanbalet’s room. It is the code the smugglers use to let the crew of the Sea Ghost know it is safe to land. In the updated version, there is no handout, and the code is solved with a skill check. I am not a big fan of solving mysteries and interactions with dice rolls, so I found the handout online (see it above). This did not go over very well with my party and they had no idea what the cryptic symbols on the handout meant, so I had them solve it with a die roll (I get the irony of what happened).
The most important story element of the combat on the Sea Ghost is the finding of the lizardfolk on it. Hopefully, your characters don’t kill the lizardfolk during the assault, otherwise this makes the next adventure a little more complicated. On the positive side, they could end up with a pseudo-dragon.
The Problem with Room 14 – Crumbling Bedroom
The problem with this room is that players do not go into it. It has clues to how the smuggling operation signals the Sea Ghost, but it requires the characters to make a close investigation check at the window. The flavor text gives the players no reason to go inside the room and actually gives them every reason to close the door and walk away. This makes the discovery of how the smugglers’ operation work very awkward.
I suggest the following changes to the room. Add a chair next to the window with a small barrel full of lamp oil. This will give the characters a reason to enter and investigate the room. I would change the flavor text to the following:
This mostly empty bedroom holds a single chair and a small barrel next to the window. Peanut shells are strewn across what looks to be an unsafe floor; some of the floorboards are missing and others are partially dislodged.
Now the players have a reason to go into the room and investigate instead of seeing that there is nothing in the room and walking away.
What I Changed
The hook I used was:
Eda Oweland comes to Mac and tells him that a tabaxi washed ashore dead this morning near the Empty Net. This is the third tabaxi to be found dead in Saltmarsh in the last couple of years under suspicious circumstances, and there was a fourth killed in a bar fight recently. The tabaxi that washed up on shore was part of a pair of adventurers that showed up in town a couple of weeks ago with intentions of going to the old Alchemist’s House looking for his stash of gold.
The adventuring pair stayed the night at the Empty Net after arriving by boat from Seaton. The tabaxi went by the name of Siren. The other adventurer was a human named Tomas Wildthorn, who wore plate mail, carried a shield, and wielded a long sword. The tabaxi was bound and wore clothing that looked like slave garb.
The other tabaxi that were found dead were: an unknown found by children tortured to death in Crab Cove; one named Sizzle, who was found pickled in a barrel on the docks near one of Gellan’s ships; and Ruby killed by Ned Shakeshaft in self-defense in a knife fight at the Empty Net.

The Monkey’s Carnage (aka The Sea Ghost) made from print outs, foam core, and clear cabinet lining.
Wind had plenty of interest in investigating this killing because he was sure that he was the one that was being sought by some shadowy group. Wind’s benefactor had been hiding him under a Seeming spell to look human. The players knew that Wind was a tabaxi, but the characters did not except Amar.
I had Ned being an unknowing member of the Scarlet Brotherhood. He was hired by them after he killed Ruby in a bar fight at the Empty Net. The Brotherhood placed him in the mansion to plant evidence for the characters to find to incriminate Gellan Primewater. The Scarlet Brotherhood wanted to remove Gellan from the town council and try and place someone they could control in his place. I was also going to have Ned betray the party, but then the adventure happened.
Aftermath.
During the fight to take the Sea Ghost, Amar threw Bloody Bjorn overboard. This was a cool moment that suddenly had everyone shocked because Bloody Bjorn was wearing chain mail. He sank straight to the bottom of the Azure Sea. The first mate came back to haunt Amar as a deep scion (GoS p. 233).
During the fight, Remir did nothing until the very end when he attacked and killed Captain “Snake Eyes” Sigurd. Remir returned to Saltmarsh before the characters and took credit for uncovering the smuggler/slavery ring. He also exposed Gellan as a slaver. He used his newfound fame to make himself a local hero.